Last updated: September 10, 2026
Key Takeaways
- On many residential systems, the wiring is 120 volts AC, and that is enough to bite hard.
- You cannot match the wiring diagram or terminal labels: The switch logic is unclear — do not trial-and-error a 120-volt septic panel.
- A good connection does not pull loose and shows no exposed copper.
- Open the control panel and read the label on the existing float if it still has one.
- For more on safe electrical work, see the OSHA electrical safety guidance.
120 volts AC. That is the part people underestimate.
To replace an aerobic septic float switch, you isolate power, identify the failed float, install the correct replacement at the same operating height, and test it before the panel is closed back up. Simple enough, right? Not quite. This guide is for a homeowner or property manager dealing with one failed float in an aerobic treatment unit — not a drainfield rebuild or a pump-tank overhaul — and if any part of the setup is buried, corroded, or unclear, consult a professional. A basic swap often takes 30 to 60 minutes when the unit is easy to reach, but the wrong float or a bad splice can stretch the repair far longer.
Table of Contents

- Who this is for — and who should do something else
- What you need to confirm before you buy or unbolt anything
- How do I replace an aerobic septic float switch?
- What goes wrong most often, and what it costs
- When should I stop and call for help?
- What changes in edge cases?
- How do I know the job is done right?
Who this is for — and who should do something else
Someone replacing a float switch on an aerobic septic system should start here. The buoyant electrical switch turns a pump, aerator alarm, or high-water warning on and off as liquid rises and falls. You need to be able to shut off power at a breaker, read a plain wiring diagram, and work in a wet, cramped, unpleasant space without guessing at wires. You also need to know which float has failed, because many systems have more than one: a pump float, an alarm float, and sometimes a timer or control relay in the same panel. According to the U.S. Environmental Protection Agency, onsite wastewater systems need regular inspection and maintenance to avoid failures that can contaminate water or create backups, so if the panel is damaged or the function is unclear, consult a professional. EPA Septic Systems Overview.
I would not treat this as a learn-as-you-go job if the tank lid is buried, the wiring is brittle, the control panel is corroded, or the system is still overflowing. Those are not signs of a hard float swap. They point somewhere else. A failed air pump, clogged diffuser, stuck relay, flooded control panel, or tripped breaker can make a perfectly good float look guilty. Identify the circuit first. If you do not know whether you are replacing an alarm float or a pump control float, stop. On many residential systems, the wiring is 120 volts AC, and that is enough to bite hard. Unsure about access, the circuit, or the panel condition? Consult a professional.
As a rule, I would only call this a DIY job when the system is accessible, the lid is safe to open, the float is a standard replacement with the same cable length and switch type, and the existing wiring can be matched one-for-one. If the tank is pressurized, the control box is showing melted insulation, or sewage has backed up into the home, this is not the place to improvise. The National Onsite Wastewater Recycling Association notes that septic electrical components should be serviced by qualified personnel when the installation is complex or hazardous.
What you need to confirm before you buy or unbolt anything
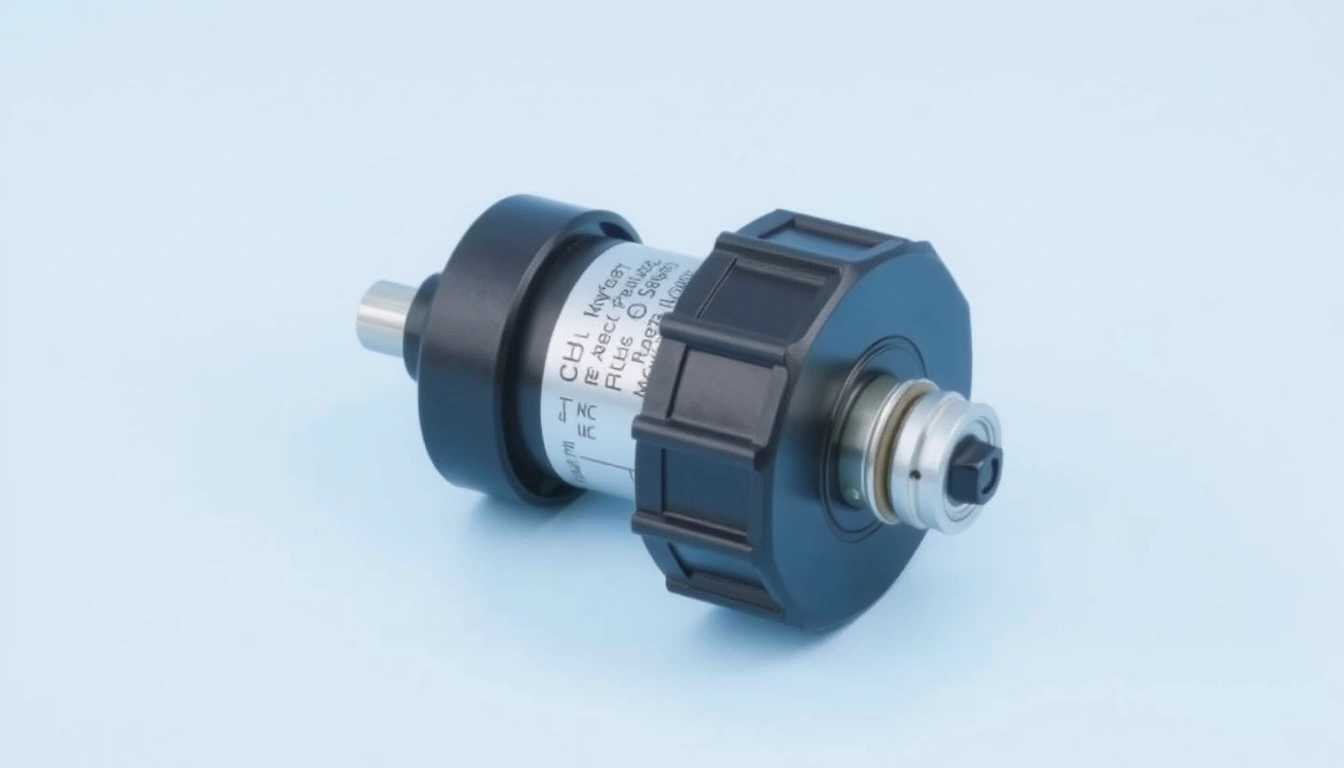
Before you start, confirm the exact float type, cable length, and switching action. “Close enough” is how people end up with alarms that never shut off or pumps that run dry. Aerobic septic floats are usually either normally open (NO) or normally closed (NC), which means the circuit is open or closed in one position and changes state as the float tips. Get that wrong, and the panel thinks the tank is full when it is empty — or the other way around. Ugly.
Open the control panel and read the label on the existing float if it still has one. Check the system diagram, which is often printed inside the panel door, for the float designation: alarm, pump-on, pump-off, or high-water. If the label is gone, trace the conductors back to the terminal block and note the wire count. Many floats have a 2-wire cable; some use a three-wire arrangement with common and two level points. The replacement has to match the existing wiring scheme, not just the buoy shape. In practice, that means checking model numbers, not just eyeballing the shell.
Measure the cable length from the point where it exits the tank or hanger to the end of the switch body, then compare it with the old one. A 10-foot float hung on a 4-foot lead may never swing correctly in a deep tank. Also check whether the float is cord-grip mounted, tethered to a bracket, or fixed to a stem. That mounting style matters as much as the switch. Honestly, it can be the whole ballgame.
The new float also needs the right electrical rating for the load. Many septic floats are rated for pump control or alarm duty at common residential voltages such as 120 volts AC, but not every float can handle a motor load directly. If the float only triggers a relay in the control panel, that is one thing; if it switches a pump directly, that is another. A mismatch can chew up the switch fast, and manufacturers often list the contact rating on the label or spec sheet.
How do I replace an aerobic septic float switch?
Shut off power first. Then remove the old float, install the new one at the same elevation and tether length, and prove that the replacement changes state where the original did. The order matters. A float set too high or too low can keep the system from pumping at the proper level even when the electrical connection is perfect. For an aerobic septic float switch replacement, follow the manufacturer’s steps for your model when those instructions are available.
- Turn off power at the breaker and lock it out if you can. Kill the circuit feeding the aerobic unit, then verify the panel is dead with a meter or test light before touching any conductor. A good result is zero voltage at the terminals you plan to remove. A problem is any live reading, even a faint one, because that means you have not isolated the circuit.
- Open the control panel and photograph the existing connections. Take clear photos of terminal labels, wire colors, and float positions before disconnecting anything. If the diagram inside the panel is legible, use it. Verify that each float lead is identified. A problem is an unlabeled bundle of similar-colored wires; do not guess in that case.
- Remove the old float without changing the bracket height. Loosen the clamp, hanger, or tether point and keep the original vertical position within about 1 inch if possible. The float’s switching point depends on that height. If the old float is waterlogged, cracked, or packed with sludge, that confirms the replacement is justified. If the bracket is bent or loose, fix that before installing the new switch.
- Match the new float’s switching action to the old one. Compare normally open versus normally closed behavior and the cable lead arrangement. If the float is used for alarm service, make sure the new unit is intended for that function. Verify by checking the continuity state with a multimeter before installation. A problem is a switch that reads opposite of the old one, because the panel logic will be wrong from the start.
- Install the new float at the same tether length and orientation. Set the float so it can rise and fall freely, with no contact against the tank wall, airline, or other floats. Leave enough slack for travel, but not so much that it swings into the wrong zone. A typical mistake is letting it hang at an angle that causes premature switching. Verify free movement by lifting and lowering it by hand; snagging means the position is wrong.
- Make the electrical connection with a watertight splice or terminal as specified by the system. Use the same connector style the panel expects, and keep splices out of standing water. Strip only the required insulation length—usually a small amount, not long bare runs—and tighten each connection firmly. A good connection does not pull loose and shows no exposed copper. A problem is a splice that can wick water into the cable or corrode inside the first rain.
- Test the float before fully reassembling the panel. Restore power and manually lift the float through its switch point while watching the alarm or pump response. The circuit should change state cleanly within a small range of motion, not chatter on and off. A problem is delayed response, buzzing relay chatter, or no response at all, which usually means the wiring is wrong or the float is incompatible.
- Seal, secure, and document the final position. If the manufacturer’s instructions call for it, reinstall the lid gasket, secure the conductors, and write the float type and date inside the panel door. That helps the next service call. Verify the lid closes without pinching the cable. A problem is a lid that sits crooked or leaves a gap, because water intrusion will ruin a good repair faster than a bad float ever did.
With a direct match and simple panel logic, this job often takes less than an hour. The slow part is not the swap. It is proving the new float triggers the right function at the right level.
What goes wrong most often, and what it costs
The most common mistake is replacing the wrong float. On a system with separate alarm and pump floats, the wiring can look nearly identical. Swap the alarm float when the pump-on float is the real failure, and the tank still misbehaves; you have spent time and kept the same symptom. The fix is to identify the function first by the panel diagram or by tracing the wires. In a typical residential service call, that mistake can turn a 45-minute replacement into a second visit.
Another mistake is setting the new float at a different elevation from the old one. Even a few inches matter in a shallow control zone. Too high, and the pump runs too late; too low, and it short-cycles. Short cycling means the pump turns on and off too often, which can stress the motor and reduce service life. Mark the original hang point before removal, then reinstall the new switch at that same mark.
People also reuse corroded connectors because they “still look solid.” In a wet septic panel, that is wishful thinking. Corrosion increases resistance, creates intermittent alarms, and can make a good float appear defective. If the connector is green, pitted, or swollen, cut it back and replace it with a proper watertight connector approved for the panel. A bad connector can make a pump cycle unpredictably; that is harder to diagnose than a dead float.
A fourth error is failing to check float orientation. Some floats are meant to hang with the cable end up and the switch end down; others depend on a molded mark or arrow. Install it upside down, and the switch can behave backward or not at all. Follow the molded arrow or manufacturer’s orientation mark, not the way it happened to sit in the bucket.
Finally, people test the new float with the tank open and then walk away. That leaves the lid unsecured, the cable pinched, or the alarm silenced by mistake. The result is not just an inconvenience; it can become a spill or backup. Finish the job completely. Then check it again with the lid in place.
When should I stop and call for help?
Stop when the float probably is not the real problem. Replacing it will not fix a failure somewhere else. These are the situations where I would not keep pushing through a float swap:
The control panel is hot, melted, or smells burnt: That points to a relay, contactor, or wiring fault — shut off power and have the panel serviced before installing any new float.
Wastewater has backed up into the house: The problem is beyond a single float and may involve a blocked pump, clogged line, or failed discharge path — stop using water and get the full system checked.
The tank is flooded above the normal operating level even with the float lifted: The pump, check valve, or discharge line may be failed — a new float will not cure a hydraulic blockage, and you should consult a professional.
You cannot match the wiring diagram or terminal labels: The switch logic is unclear — do not trial-and-error a 120-volt septic panel.
The lid is damaged, buried, or unsafe to open: A cracked or heavy lid can fall or expose you to a confined-space hazard — the access problem has to be fixed before the float can be reached safely.
Multiple alarms are failing at once: That usually means a control or power problem, not three bad floats — diagnose the panel and supply first.
What changes in edge cases?
A standard replacement changes when the float is part of a more complex control system, because not every aerobic unit uses a simple single-switch layout. If the system has a timer, relay board, or audible/visual alarm module, the float may only send a low-current signal to the board rather than switch the pump directly. In that case, the replacement must match the board’s input requirements, not the pump’s motor load. A direct-switch float used where a signal float belongs can fail early. Wrong tool, wrong job.
Cold-weather installations need extra slack in the cable and careful routing, because stiff wire and ice can hold a float in one position. I would leave a little more free travel in a climate where the tank surface can crust over, but not so much slack that the float drifts into the wrong zone. If the tank uses a guide rod instead of a loose tether, keep the float centered on the rod and verify it does not bind when the water level changes.
Tanks with multiple floats close together require attention to spacing. If the alarm float sits too near the pump-on float, the system may alarm during normal cycling. In that case, the correct fix is to preserve the original separation, often just a few inches, and confirm the sequence from lowest to highest level. The float that turns the pump on is usually not the same one that sounds the alarm.
If the old float failed because its cable jacket cracked, I would inspect the whole run back to the panel. Replacing one broken section while leaving another brittle section in place only delays the next failure. That is still a DIY judgment call if the damage is visible and isolated. If the jacket damage disappears into a conduit or underground run, the scope has moved beyond a simple float replacement, so consult a professional.
How do I know the job is done right?
The job is done right when the new float changes state at the correct level, the alarm or pump responds once, and the system stays quiet afterward. I want a clean on/off transition, no relay chatter, no false alarm, and no cable rubbing against the tank wall. A good repair also leaves the panel dry, the lid sealed, and the wiring neat enough that the next person can identify each conductor in under a minute. Clean and boring. That is the goal.
A simple functional check is worth more than appearance. Lift the float by hand and watch whether the pump starts, stops, or alarms exactly as the panel legend says it should. Then lower it and confirm the circuit resets normally. If the system requires a delay before the pump comes on, follow the panel logic rather than forcing repeated toggles. Repeated rapid cycling is a sign the float height or switch type is wrong.
A bad repair often looks finished from above but fails in the first wet cycle.