Last updated: September 10, 2026
Key Takeaways
- An aerobic septic system installation is a package of parts, not one tank with a different label.
- A proper aerobic system usually needs a dedicated electrical circuit and a visible alarm.
- In most places, the layout and component sizing are driven by the permit, not by the installer’s preference.
- The buried work is where the system either passes or fails.
Aerobic septic system installation is not a casual weekend job. It is site-specific construction, plain and simple. Soil, setbacks, electrical service, and local health rules all shape the job. I’m writing for the homeowner who needs enough context to compare bids, catch a weak plan, and see what the installer should be doing at each stage. Quick Answer: most aerobic septic system installations take 3 to 10 days on site, but permits, soil testing, and inspections can stretch the full project to 2 to 8 weeks.
Who this applies to, and who should not try to push through a standard install
This applies to a property that already needs an on-site wastewater treatment system and is being considered for an aerobic treatment unit, or ATU, rather than a conventional septic tank alone. An ATU uses oxygen-rich treatment to break down sewage more aggressively than a plain anaerobic tank, then sends effluent to a pump tank, spray field, drip field, or other approved dispersal area depending on the jurisdiction. Common reasons include slow-draining soil, a tight lot, high groundwater, or a local code that demands a higher treatment level, but a licensed designer or local health department should confirm that before anyone commits.
It also assumes the site has already been evaluated by a licensed designer, soil scientist, engineer, or county-approved septic contractor, depending on your area. No soil evaluation yet? Then the installation step is too early. If you do not yet have a soil evaluation, percolation data, and a permit path, the installation step is premature. In most places, the layout and component sizing are driven by the permit, not by the installer’s preference, so ask the county or health department to confirm the approved plan.
I would not treat this as a DIY project unless you are only helping with surface tasks such as clearing brush, keeping vehicles off the trench area, or backfilling after the inspector approves the work. For anything buried, wired, or permitted, consult a licensed septic professional. The buried work is where the system either passes or fails. One wrong slope, one crushed pipe, or one hidden electrical shortcut can snowball into odors, surfacing effluent, pump failure, or permit rejection.
This is also the wrong system for a property that cannot support the electrical load, cannot provide maintenance access, or sits on terrain that makes the dispersal area unstable without major earthwork. Aerobic systems usually need ongoing service, often including routine inspections and disinfection checks, so a buyer who wants “install it and forget it” is picking the wrong tool. The National Small Flows Clearinghouse and many state health departments publish homeowner guidance on on-site wastewater systems; local rules matter more than generic advice, because a plan that passes in one county can fail in the next. That mismatch can sting.
What an aerobic septic system actually includes
An aerobic septic system is a package of parts, not one tank with a different label. The exact setup changes by state and soil, but the usual lineup includes a pretreatment tank or trash tank, an aeration chamber where air is added, a clarifier or settling zone, a disinfection step in some systems, a pump tank, and the final dispersal area. The aeration chamber is the defining feature: air is introduced so aerobic bacteria can reduce organic load more quickly than in a conventional septic tank. For example, Texas A&M AgriLife Extension and many state health departments describe ATUs as treatment systems that still need approved soil dispersal.
A generic article often blurs treatment and dispersal. That split matters. Treatment happens in the unit; dispersal happens in the soil or a shallow field approved for the site. A unit can be installed perfectly and still fail if the outlet elevation, pump sizing, or field design does not match the lot.
The exact layout depends on the approved plan, but the installer should be following a drawing that shows tank dimensions, inlet and outlet elevations, trench depth, pipe size, electrical feed, and alarm location. Common pipe sizes are 3-inch or 4-inch for gravity segments, while pressure lines may be smaller, but the permit drawing controls the actual size. The electrical side usually requires a dedicated circuit and a visible alarm panel. If the unit depends on aeration, a failure in air delivery can degrade treatment within hours or days, not months. No breathing room, no treatment.
A bad plan usually reveals itself in one of three ways: the tank is too shallow or too deep for the grade, the field cannot stay above seasonally wet soil, or the service access is buried under a driveway, fence, or deck. The right system for a site is the one that can be installed to grade without improvisation. A site that requires constant field changes during excavation is warning you early. Red flag.
How is an aerobic septic system installed, step by step?
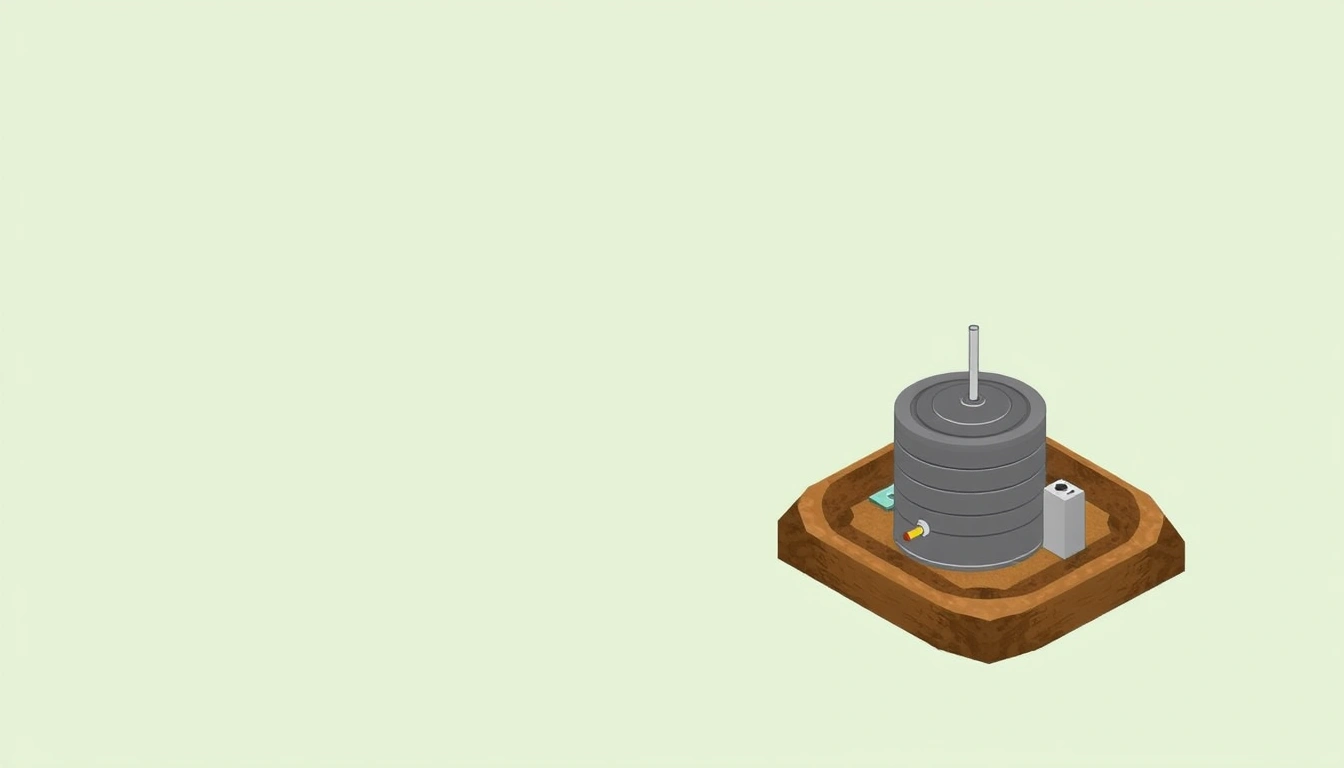
It is installed by following the approved site plan, setting the tanks and piping to elevation, connecting the aeration and electrical components, then testing the system before backfill. Clean work here is mostly about sequence and verification.
- Mark the approved layout and utility clearances. Stake the tank, pump, and dispersal field locations exactly as shown on the permit, usually with at least 3 feet of working room around tanks and enough space for service access. Verify setbacks to wells, property lines, structures, and drainage features against the permit drawing. A problem is any field that has been “shifted a little” in the dirt; that can invalidate the permit.
- Excavate to the specified depth and grade. Dig the tank pads, pipe runs, and field according to the elevation schedule, not by eye. The inlet and outlet invert levels have to match the design so wastewater flows correctly. Verify the excavation bottom is level, stable, and free of loose spoil. A problem is soft subgrade, standing water, or a trench that has been overcut and backfilled with uncompacted soil.
- Set the tank or tanks on a firm, level base. Place the aerobic unit, pump tank, and any pretreatment tank on compacted bedding material per the manufacturer and local code, often 4 to 6 inches of sand or pea gravel when specified. Verify the tank sits level side-to-side and front-to-back. A problem is any visible tilt, because it can distort liquid levels and upset pump operation.
- Connect inlet and outlet piping with correct fall. Install the sewer line from the house with the required slope, commonly around 1/8 to 1/4 inch per foot depending on line length and local standard, then connect the tank outlets to the pump tank or dispersal line. Verify joints are solvent-welded or gasketed correctly and that cleanouts are accessible. A problem is a belly, reverse pitch, or a sharp offset that will trap solids.
- Install the aeration equipment and air delivery lines. Mount the air pump or compressor in its approved location, connect the airline to the diffuser or aeration chamber, and protect the line from kinks and water intrusion. Verify that air flow reaches the chamber and that the unit’s venting matches the manufacturer’s requirements. A problem is a compressor sitting where floodwater, heat, or rodents can damage it.
- Wire the system to a dedicated electrical circuit. Run the service connection through the proper conduit to the control panel, float switches, compressor, and alarm. Verify grounding, breaker size, and weatherproofing against the equipment label and code. A problem is shared circuits, loose conduit, or an alarm that is not visible from the house.
- Set floats, pumps, and alarms before any backfill. Adjust the on/off floats and high-water alarm to the elevations specified in the design. Verify the pump starts and stops at the intended levels and that the alarm sounds when the high-water float is lifted. A problem is a pump that short-cycles or an alarm that never activates.
- Pressure-test and inspect every connection. Fill or test the tank and lines as required by local code, then inspect for leaks, seepage, or uneven drawdown. Verify lids, access risers, and seals are tight and serviceable at grade. A problem is any wet joint, smell, or visible settlement while the system is still open.
- Backfill carefully and restore the surface without compacting the field. Use approved fill, place it in lifts, and avoid driving over trenches or the dispersal area. Verify final grade sheds water away from tanks and does not pond over the system. A problem is heavy compaction, rutting, or a crown that sends runoff into the field.
The best sign of a proper install is boring predictability: no last-minute elevation changes, no buried lids, no mystery wiring, and no wet soil around the tanks after startup. Most poor installs are visible before the trench is closed if somebody is willing to stop and look. Sometimes the giveaway is tiny. That’s the whole point.
What should you ask the installer before work starts?
You should ask for the permit plan, the component list, the electrical scope, and the maintenance requirements in writing before anyone digs. Have that conversation before the first bucket hits the ground, not after the tanks are already in place.
Ask who is responsible for the site layout. If the answer is vague, that is a problem. The installer should be able to tell you whether the design came from a soil evaluator, engineer, or health department-approved plan, and which details are fixed by the permit. Ask what conditions will trigger a change order: ledge rock, high groundwater, unexpected fill, buried concrete, or a need to move the field. Those surprises are where budgets drift.
Ask how the system is powered and protected. A proper aerobic system usually needs a dedicated electrical circuit and a visible alarm. Ask where the alarm will be mounted, what happens on a power outage, and whether the system has battery backup or another approved fail-safe if your jurisdiction requires it. Power cuts are no joke.
Ask what routine service the unit needs. Many aerobic systems require scheduled inspections, sludge removal, air pump maintenance, and disinfectant checks, but the interval depends on the manufacturer, the permit, and local rules. If the installer cannot explain who services the system after startup, you may be buying a machine without a maintenance plan.
Ask about access. Lids, filters, pumps, and floats should be reachable without digging them out. If the installer plans to bury access points under mulch, pavers, or a driveway, ask how future maintenance will happen. A good installation keeps service parts visible and reachable at grade.
A rough bid that only lists “septic install” is not enough. I would want line items for excavation, tanks, pump package, electrical, field installation, startup, and inspection fees. Even when prices vary by region, that structure tells you whether you are comparing the same job. Otherwise, you are comparing apples to oranges.
When should you stop the install and change the plan?
You should stop and change the plan when the site conditions no longer match the approved design. That is the moment to pause, not to improvise.
Unexpected groundwater in the excavation: It means the system may be too deep for the site or the season — stop and have the design rechecked before setting tanks or trenching the field.
Rock, ledge, or buried debris where the field must go: It means the dispersal area may not be buildable as designed — stop and ask for a revised layout or an engineered alternative.
Grade changes that bury lids or force steep pipe runs: It means future maintenance will be hard and flow may be wrong — stop and reset elevations instead of “making it work.”
Electrical service cannot support the equipment: It means the compressor, pump, and alarm may not operate correctly — stop until a qualified electrician and the septic designer agree on the service plan.
The inspector rejects a placement or setback: It means the install is not legally ready to proceed — stop and correct the issue before backfill.
The installer wants to close the trench before testing: It means defects may be hidden permanently — stop and require leak, float, and alarm checks first.
A standard install is wrong for a site that floods, shifts, or has chronic groundwater above the dispersal area. It is also the wrong answer if the property cannot support a service contract. Aerobic systems are more active than conventional septic systems, and that extra activity is why they can work on difficult lots. It is also why neglect hurts them faster. Fast failure, too.
The mistakes that cost money later
The most expensive mistakes are the ones that get buried. A system can look finished and still be set up for repeated service calls.
One common error is burying the access lids too deep. That saves a little time on backfill and costs a lot later when a technician has to dig to reach filters, floats, or pumps. The correct approach is risers to grade or another approved service access method.
Another mistake is wrong slope on the house sewer line. Too little fall can leave solids behind; too much fall can outrun the liquid and leave solids in the pipe. The right fall is the one in the approved plan, not whatever “looks good” that day.
A third error is placing the compressor where water, sun, or rodents can reach it. Air delivery matters to treatment, so a damaged compressor quickly becomes a treatment failure. The fix is a protected location with the manufacturer’s clearances, and many manufacturers call for keeping the unit above flood level and clear of vegetation.
A fourth mistake is compacting the absorption area with equipment. Driving over a drip field or shallow trench squeezes soil pores shut. The field may still drain at first, then fail early. The right alternative is to stage materials outside the field and use light equipment only where allowed.
A fifth error is poor startup. If the unit is not checked for pump cycle, alarm function, and discharge path before closeout, small wiring or float problems can hide until the tank overfills. The correct move is a full startup inspection with the covers still open.
In most areas, a replacement or corrective install can run from a modest repair to a major rebuild, and the difference is usually whether the tanks and field were set right the first time. I would rather see a careful bid that admits unknowns than a cheap bid that hides them. That trade-off is real.
How long does an aerobic septic installation take?
It usually takes several days to a couple of weeks, depending on soil, weather, inspection timing, and whether the field is simple or engineered. A straightforward residential job can move quickly once permits and materials are in hand, but rain, clay soil, utility conflicts, or rock can stretch the schedule.
The actual on-site installation is often only part of the timeline. Before digging starts, there may be soil testing, design work, permit review, and utility marking. After the tanks are set